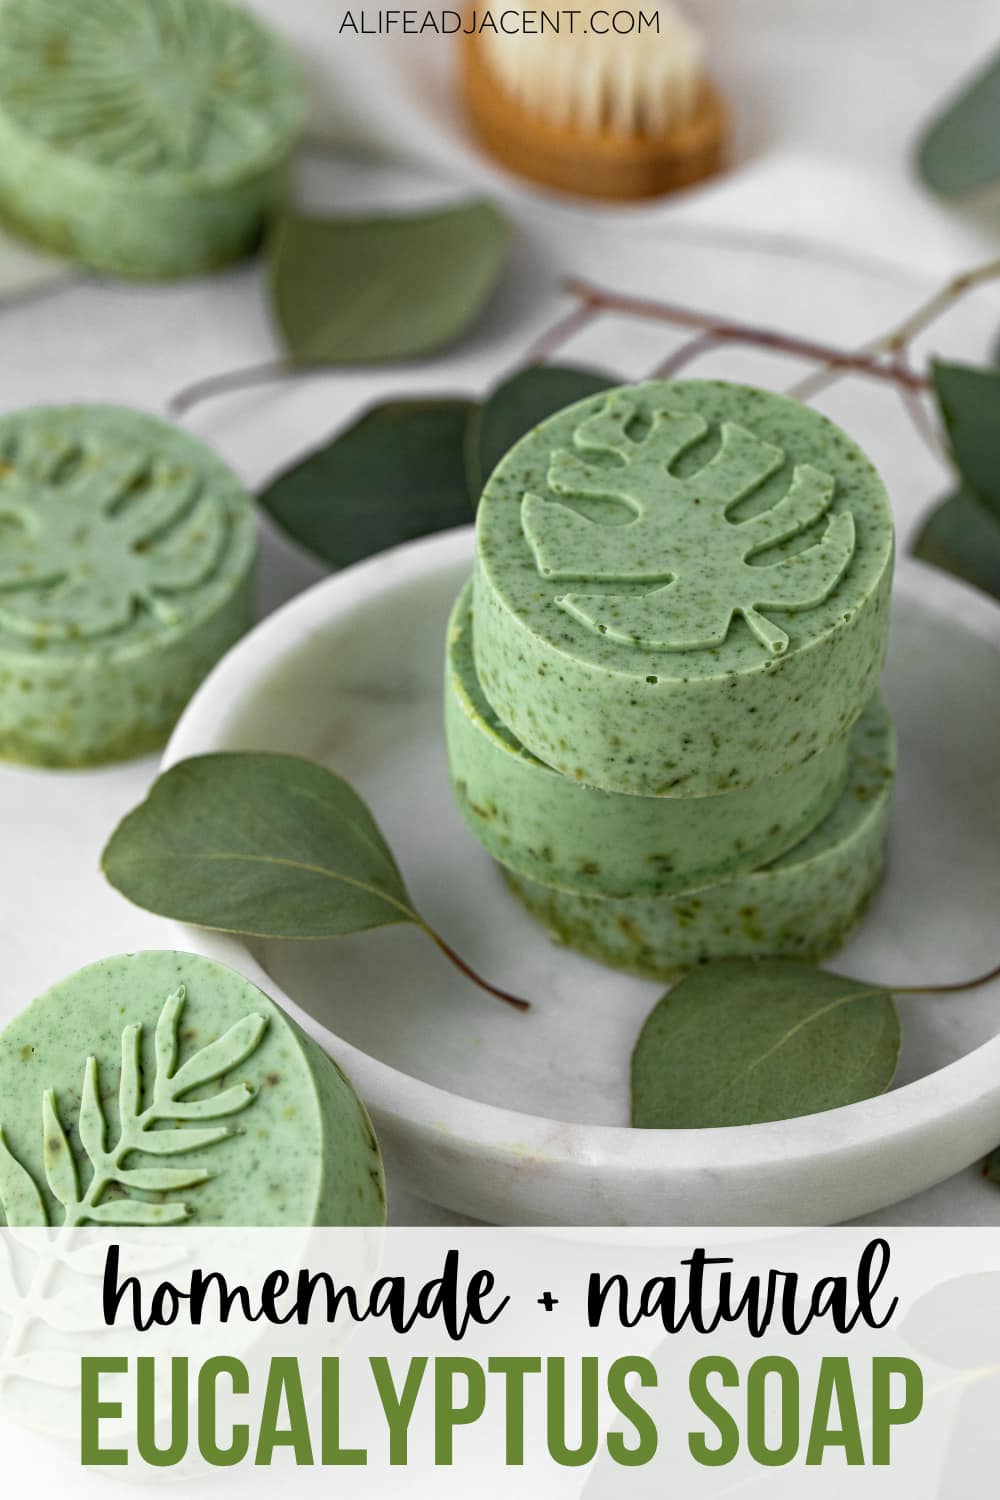
This easy-to-make eucalyptus soap has a fresh, invigorating scent and is an ideal recipe for beginner soap makers. Made with a melt and pour soap base and eucalyptus essential oil, this soap is wonderful for deodorizing your skin while leaving you feeling refreshed.
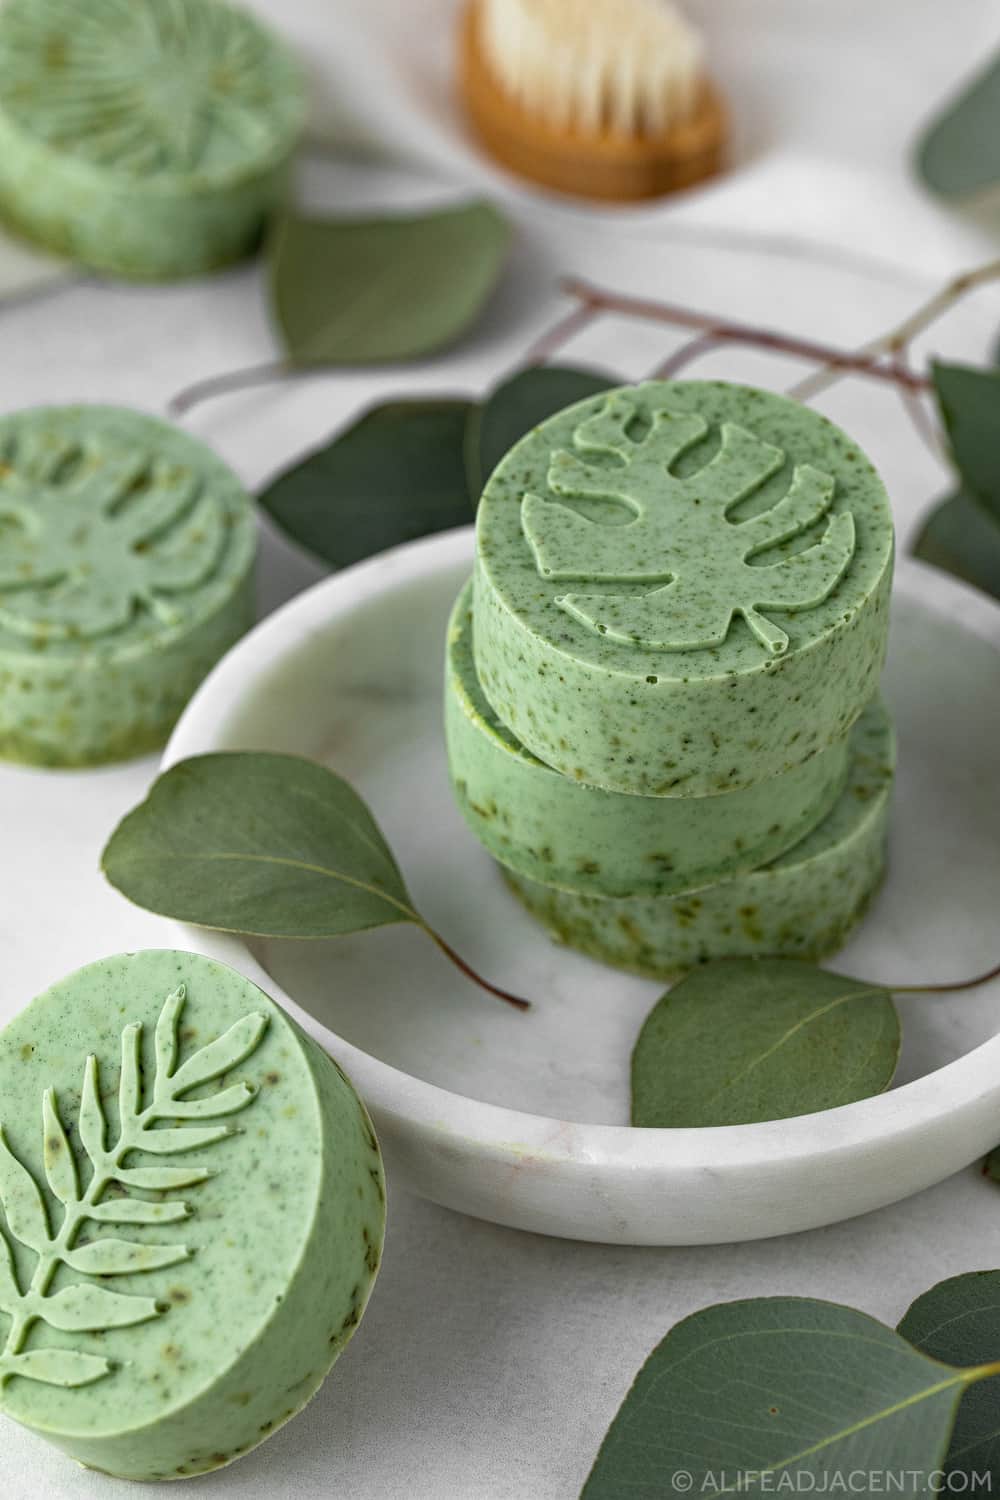
Eucalyptus essential oil is best known for its fresh, deodorizing scent, but it’s also a favorite for creating a spa-like shower experience. Its crisp aroma can help your shower feel especially refreshing when you’re dealing with seasonal congestion or simply want to breathe a little easier. That’s what makes a homemade eucalyptus soap such a wonderful addition to your daily routine.
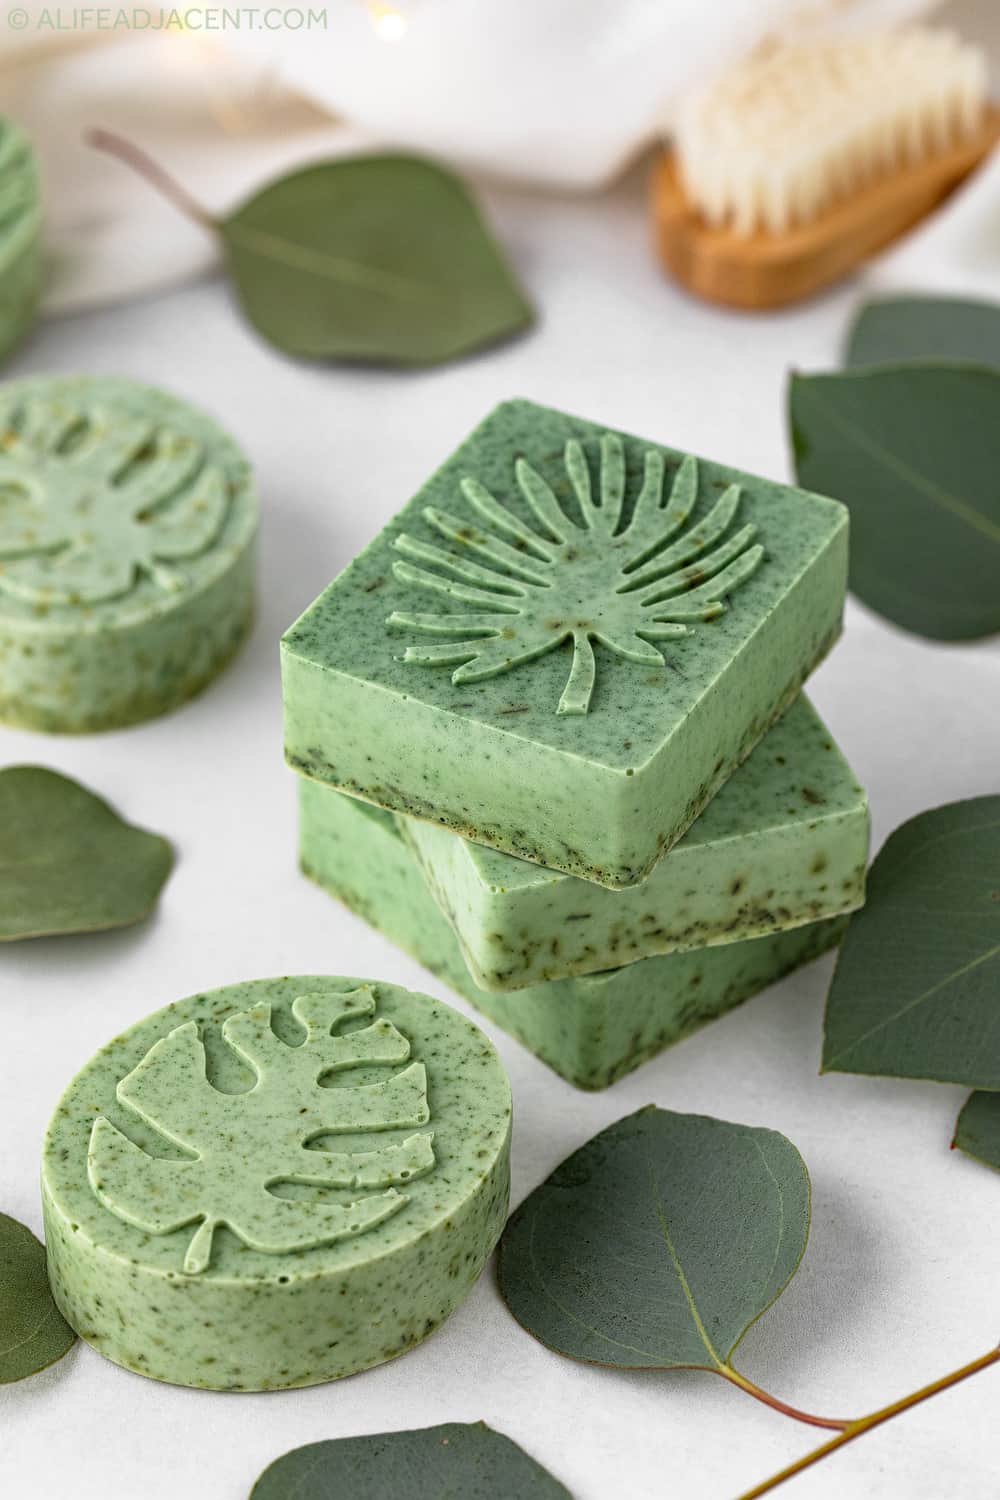
To add color, this soap recipe also includes spirulina powder and a sprinkling of dried herbs, which give the finished soap a beautiful green hue.
What makes this eucalyptus soap so simple is that it’s made with a melt and pour soap base, which has already gone through the saponification process. So, it’s beginner-friendly while still allowing for creativity and customization.
If you’re looking for a quick and easy soap recipe, just follow the simple instructions below to make your own eucalyptus melt and pour soap at home.
Benefits of Eucalyptus Essential Oil in Homemade Soap
Some of the benefits of eucalyptus essential oil in soap include:
- Cleansing & Deodorizing: Eucalyptus helps control body odor-causing bacteria, making it an excellent ingredient for natural deodorizing soap.
- Congestion Relief: The scent of eucalyptus helps open up clogged airways and clear congestion, helping you breathe easier if you’re under the weather.
- Cooling: Eucalyptus essential oil provides a cooling sensation that leaves skin feeling refreshed.
- Antibacterial: Possesses antibacterial properties, which may help combat acne and aid in minor wound healing.
- Aromatherapy: Its fresh, uplifting scent creates an invigorating and energizing aromatherapy experience.
- Insect Repellent: Eucalyptus oil helps repel insects, making eucalyptus soap especially helpful during the summer months.
Benefits of Melt and Pour Soap
As the name suggests, you simply melt the base, add your extra ingredients, and pour the soap into molds. Making homemade soap can truly be that easy!
Additionally, since a melt and pour soap base has already gone through saponification, you won’t need to handle lye. Saponification, which means “turning to soap,” is the chemical process in which fats and oils react with lye to create soap.
Why Choose Melt and Pour?
Making homemade soap with melt and pour is ideal for those who are hesitant to tackle traditional soap-making due to the handling of lye or the expense of safety equipment. It also has the benefit of a short cure time, unlike traditional soap making, which requires weeks of curing.
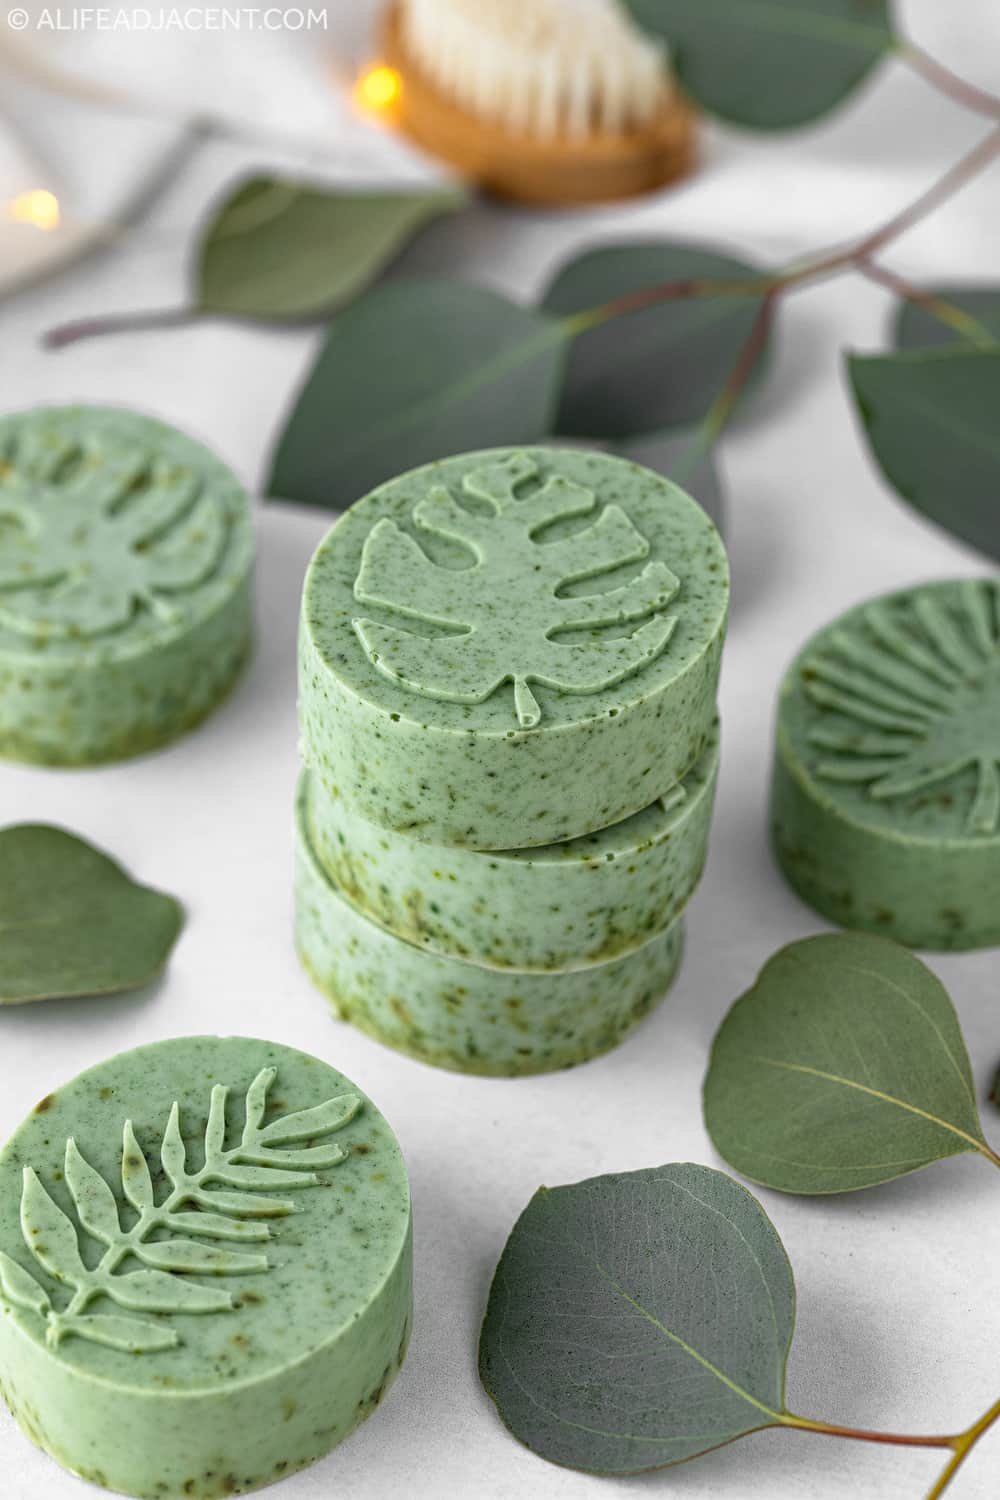
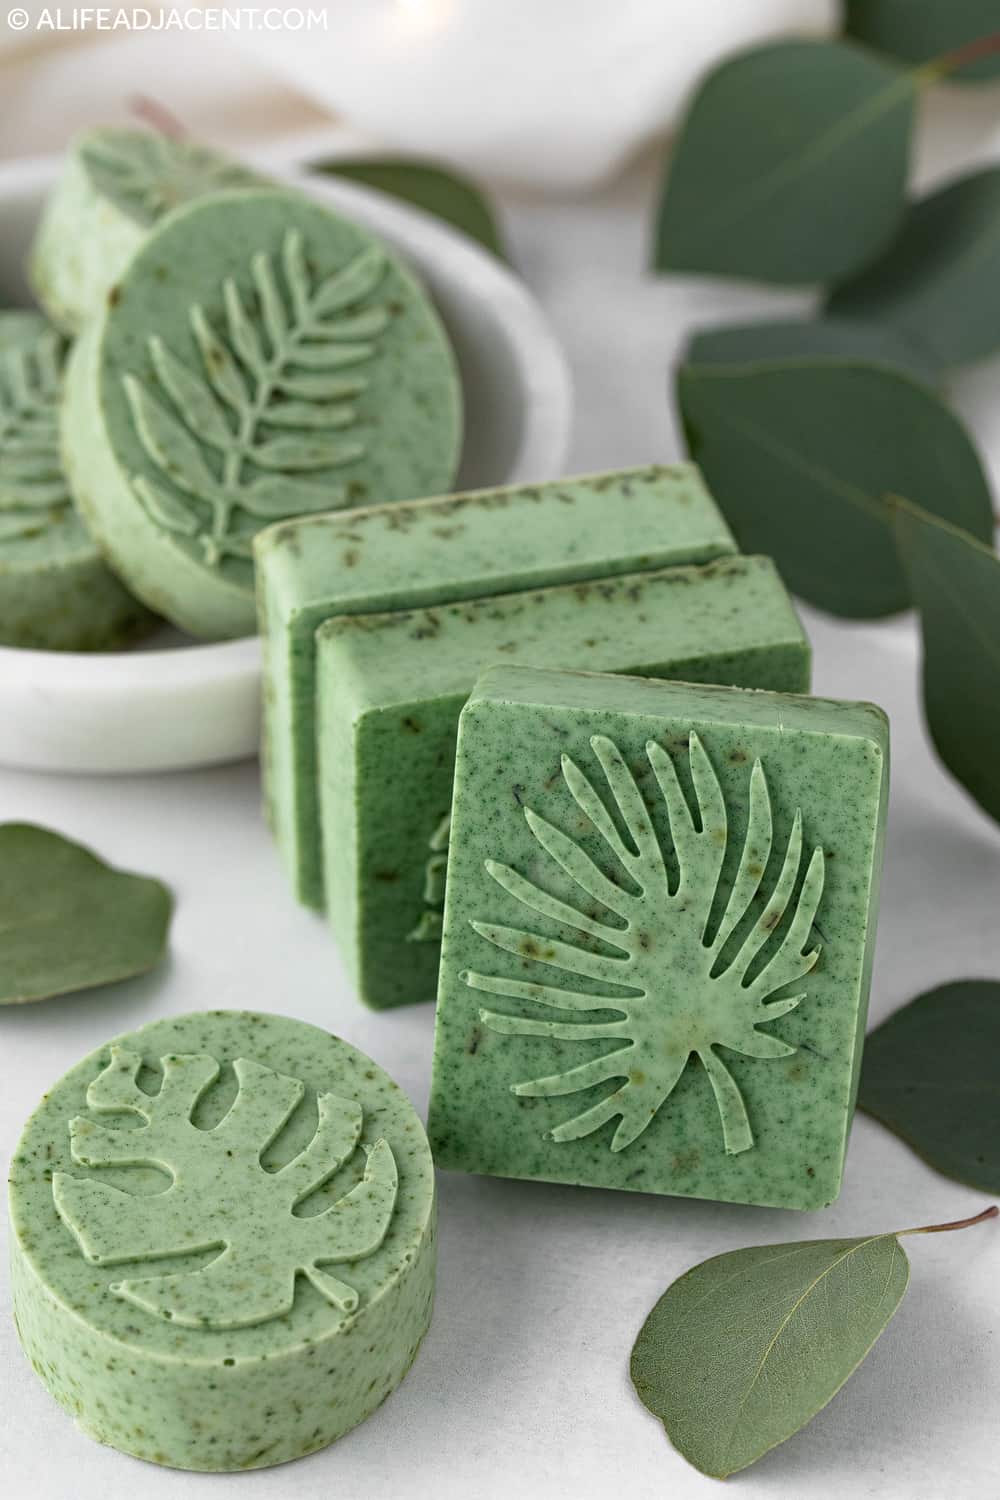
It also gives you endless options for customization. For example, you can add a variety of scents, colors, oils, and textures to your homemade soaps. You can even use a variety of soap molds to create interest, such as the lovely leaf molds I chose for this project.
If you’re looking for a traditional soap recipe instead, we also have a guest tutorial and recipe for a basic cold process soap with a refreshing lavender pine scent. Our guest blogger is an experienced soap maker, so you’re in good hands when it comes to learning how to safely handle lye.
Ingredients for Making Melt and Pour Soap
- Melt and Pour Soap Base: Easy to use and customize
- Essential Oils: Eucalyptus oil or a eucalyptus blend such as Breathe Easy (see essential oil blends section)
- Dried Herbs: Peppermint, spearmint, or eucalyptus leaves
- Spirulina Powder or Ethical Green Mica: For natural color
- Vodka or Rubbing Alcohol: For spritzing soap bubbles
Eucalyptus Soap Recipe
- 1 lb of goat’s milk or shea butter melt and pour soap base
- 1/2 teaspoon spirulina powder (mixed with a dab of coconut oil or another carrier oil)
- Small amount of dried peppermint leaves (optional: eucalyptus, or spearmint leaves)
- 50 drops of eucalyptus essential oil (plus another oil, if desired) or Breathe Easy blend
Supplies
- Cutting board
- Sharp knife, box grater, or a specialized soap knife
- Measuring spoons
- Heat-proof measuring cup such as Pyrex
- Small spray bottle with vodka or another high-proof alcohol
- Heat-safe glass bowl and pot (or a double boiler)
- Heat-safe spatula or wooden spoon
- Silicone soap molds (leaf shaped or another variety)
- brown paper and gift tags for packaging (optional)
How to Make Eucalyptus Melt and Pour Soap
- Grate or chop the melt and pour base into approximately 1-inch cubes.
- Place the chopped soap base in a double boiler, or create a water bath by placing a heat-safe glass bowl over a shallow saucepan filled with just enough water to cover the bottom. Stir the soap often and watch it closely, as it melts quite quickly and you don’t want it to burn. (Note: You can also use a microwave for this step. Melt the soap in 15- to 20-second increments and stir well in between.)
- Once the soap has completely melted, remove it from the heat.
- Next, add the spirulina powder. For easier mixing, stir the powder into a dab of coconut oil first so that it incorporates more easily into the soap base, as too much mixing at this point can create soap bubbles.
- Then, add the essential oils and dried herbs and stir again.
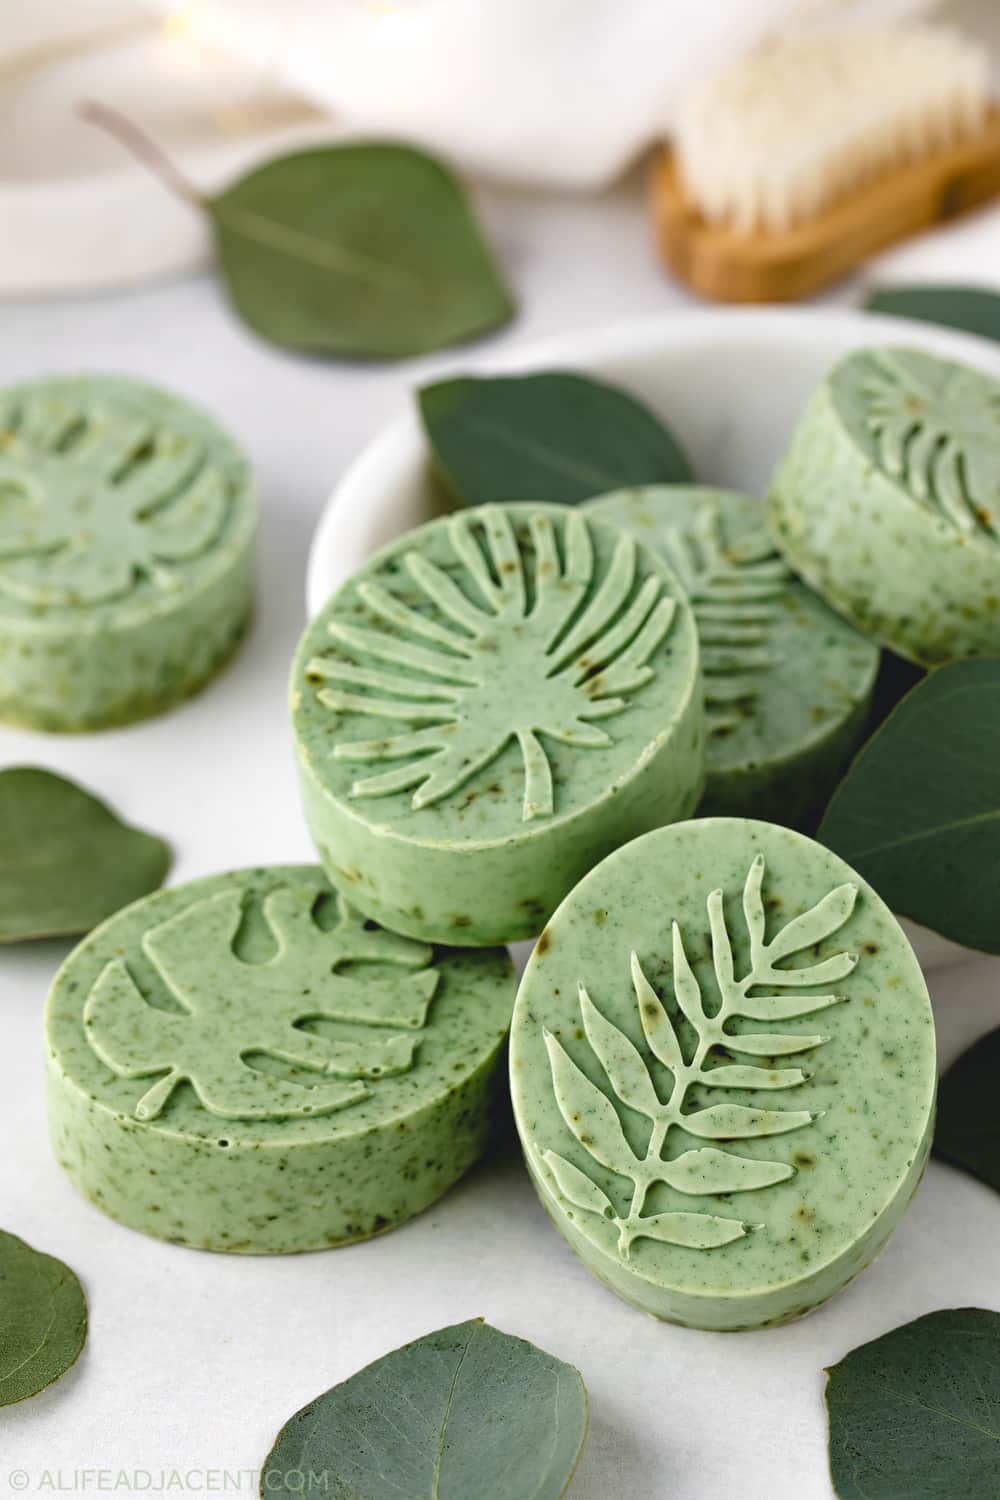
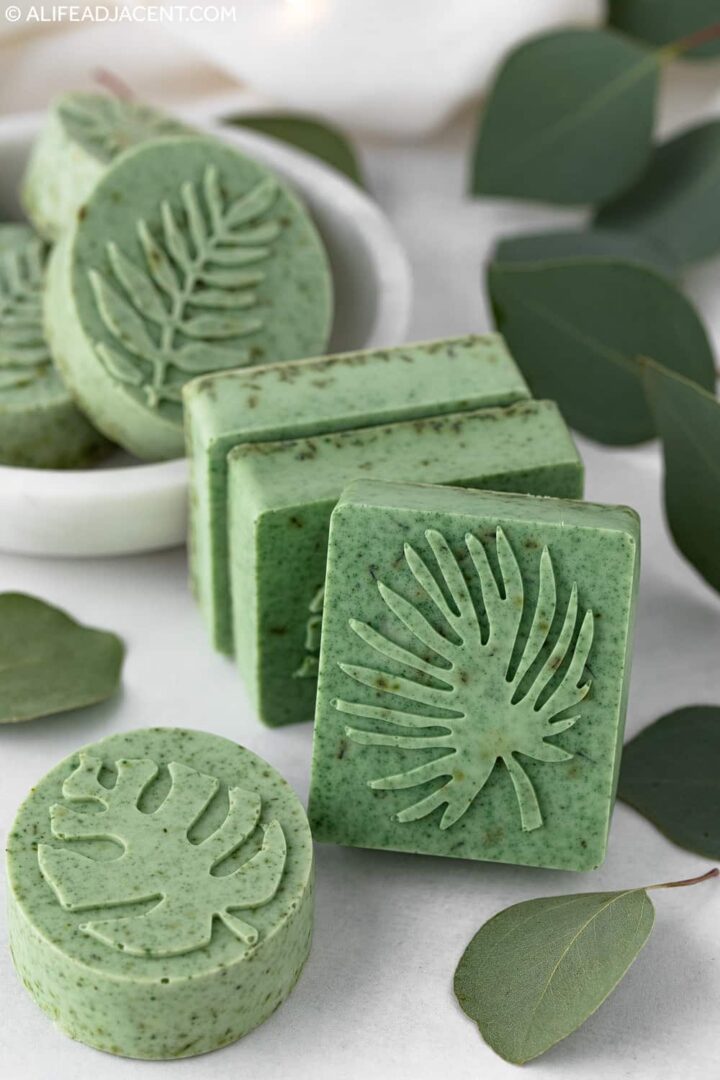
- Your soap is ready to pour into your molds. I used pretty, leaf-patterned silicone soap molds, but you can use any size or shape of mold.
- After pouring your soap, you can spritz any bubbles that appear on the surface with the alcohol spray. Soap makers often use rubbing alcohol to dissipate soap bubbles. However, since the smell of rubbing alcohol gives me a migraine, I just use vodka instead.
- Allow your soap to cool and set for approximately 20 minutes. Try not to move it until it’s set. You can also place your soap molds on a cookie sheet or large tray to make them easier to move.
- Next, move the tray with your soaps to an area where they can set for another 4 to 6 hours, or overnight.
- The next day, remove your soap from the molds. You can allow them to dry for a few days to increase their firmness, but some people package them immediately in paper or plastic for gifting or to enjoy right away.
Recipe Notes
Shelf Life
Melt and pour soap can last approximately 1 to 2 years before drying out or losing quality. However, because this recipe contains dried peppermint leaves, it’s best to use the soap sooner. The fresh eucalyptus scent may also fade over time, so I recommend using them within 3 months for the best experience.
You can always add a few drops of essential oil to your bar later to freshen the scent. Ultimately, the best-before date of your melt and pour soap base will help determine its overall shelf life.
Storage and Packaging
I recommend wrapping each eucalyptus soap individually in brown paper, but you can also use plastic wrap. Another great idea is to store the soaps in mason jars with airtight lids.
If you plan to gift the soap, you can add a gift tag and attach it to each soap bar with raffia string. Brown paper tags with handwritten labels pair beautifully with green-toned soaps, and a sprig of dried eucalyptus is another lovely finishing touch. Or just keep it simple and pop them in a mason jar with a label.
If you’re looking for more soap packaging ideas, we have a post on the best containers for DIY skincare that might be helpful.
How to Prevent Soap Sweating (Glycerin Dew)
Because melt and pour soap can be prone to glycerin dew—also known as sweating or beading—you can wrap your DIY soaps tightly in plastic wrap before wrapping them in paper, or before putting them in tins or jars.
Extra glycerin is added to a melt and pour soap base during the manufacturing process. Since glycerin is a humectant that draws water from the air, your handmade soaps can sweat when exposed to the air, especially in humid climates.
To combat this issue, be sure to dry your soaps thoroughly before tightly wrapping them in plastic wrap. While melt and pour soap doesn’t require the long curing times associated with traditional soap making, I like to let my bars dry for around 3 days to fully harden before wrapping them.
Do Herbs and Flowers Cause Melt and Pour Soap to Mold?
Technically, yes. Because melt and pour soap contains water, dried herbs and flowers can eventually rot or grow mold.
If you choose to use dried peppermint in this recipe, use only a light sprinkling, make sure the soaps are completely dry before packaging, and plan to use them relatively soon rather than storing them long-term. Many soap makers find that dried calendula and blue cornflower petals hold up better in melt and pour over most other botanicals, though no plant material is completely resistant to rot.
If you want to decorate this melt and pour soap with dried botanicals that last longer, calendula and blue cornflower petals are your best choices. We added blue cornflowers to our Allergy Shower Steamers which, like this soap, are perfect for a natural shower routine.
Essential Oil Blends for Customization
Eucalyptus essential oil blends beautifully with many other essential oils. If you want to experiment with your own tester batches, it pairs well with:
- Woody Scents: Cedarwood, pine and black spruce
- Herbal Scents: Cypress, juniper, marjoram, thyme, or rosemary essential oil
- Floral Scents: Chamomile, geranium, and lavender
- Citrus Scents: Grapefruit and lemon
- Minty Scents: Peppermint and spearmint
When creating your own custom blends, it is important to always use essential oils safely. If you want to calculate safe usage rates for your soap recipe, this helpful Essential Oil Calculator can help ensure your formula follows safe DIY standards.
Another option is Simply Earth’s Breathe Easy blend which combines many of the oils listed above: Lavender, Cypress, Eucalyptus, Marjoram, Peppermint, Lemon, Eucalyptus, and Black Spruce. This blend also works wonderfully in our Eucalyptus Shower Steamer recipe for colds and congestion.
Equipment
- Sharp knife, box grater, or a specialized soap knife
- Cutting board
- Measuring spoons
- Heat-proof measuring cup such as Pyrex if using a microwave to melt the soap
- Small spray bottle with vodka or another high-proof alcohol for soap bubbles
- Heat-safe glass bowl and pot (or a double boiler) if melting soap on the stove
- Heat-safe spatula or wooden spoon
Ingredients
DIY Eucalyptus Soap Recipe
- 1 lb goat’s milk or shea butter melt and pour soap base
- 1/2 teaspoon spirulina powder mixed with a dab of coconut oil or another carrier oil
- 2-3 pinches dried peppermint leaves (or dried spearmint)
- 50 drops eucalyptus essential oil (or Breathe Easy blend)
Instructions
- Grate or chop the melt and pour base into approximately 1-inch cubes.
- Place the chopped soap base in a double boiler, or create a water bath by placing a heat-safe glass bowl over a shallow saucepan filled with just enough water to cover the bottom. Stir the soap often and watch it closely, as it melts quite quickly and you don’t want it to burn. (Note: You can also use a microwave for this step. Melt the soap in 15- to 20-second increments and stir well in between.)
- Once the soap has completely melted, remove it from the heat.
- Next, add the spirulina powder. For easier mixing, stir the powder into a dab of coconut oil first so that it incorporates more easily into the soap base, as too much mixing at this point can create soap bubbles.
- Then, add the essential oils and dried herbs and stir again.
- Your soap is ready to pour into your molds. I used pretty, leaf-patterned silicone soap molds, but you can use any size or shape of mold.
- After pouring your soap, you can spritz any bubbles that appear on the surface with the alcohol spray. Soap makers often use rubbing alcohol to dissipate soap bubbles. However, since the smell of rubbing alcohol gives me a migraine, I just use vodka instead.
- Allow your soap to cool and set for approximately 20 minutes. Try not to move it until it’s set. You can also place your soap molds on a cookie sheet or large tray to make them easier to move.
- Next, move the tray with your soaps to an area where they can set for another 4 to 6 hours, or overnight.
- The next day, remove your soap from the molds. You can allow them to dry for a few days to increase their firmness, but some people package them immediately in paper or plastic for gifting or to enjoy right away.
Notes

More Homemade Soap Recipes
If you enjoyed this melt and pour soap recipe, be sure to check out these other recipes:
- DIY Honey Almond Soap
- Rose Soap (3 Melt and Pour Recipes)
- Christmas Soap Recipes
- Mulled Cider Hand Soap
For even more natural bath and body recipes, follow us on Pinterest, Instagram, YouTube, Facebook, TikTok, and Twitter.
📌 Pin it for later